Nginx-RTMPストリーミングメディアサーバー構築ステップバイステップガイド(Ubuntu/Windows)
著者紹介
👋 こんにちは、私はEZ Media Toolsのウェブマスターで、マルチメディアオンラインビデオ技術とブラウザベースのツール開発に焦点を当てています。
EZ Media Toolsは、オンラインビデオ処理を中心としたツールプラットフォームで、M3U8オンライン再生、M3U8からMP4への変換、RTMP/HLSストリームテスト、FFmpegオンライン変換などの機能を提供しており、すべてクライアントをインストールせずにブラウザで直接使用できます。
はじめに
ライブストリーミング業界の爆発的成長により、Bilibili、Douyin、WeChat Videoは私たちの生活の一部になりました。しかし、これらの華やかなライブ配信の背後にある技術的原理について考えたことはありますか?独自のプライベートサーバーを構築したい場合、またはイントラネット内に監視ストリーミングサーバーを設定したい場合、どのようにすればよいでしょうか?この記事では、UbuntuとWindowsの2つの主流プラットフォームで、ゼロから超詳細な手順でNginx-RTMPストリーミングメディアサーバーをコンパイル、設定、実行する方法を教えます。あなたは「それが何であるか」だけでなく、「なぜそうなのか」も理解できるようになります。
なぜNginx-RTMPを選ぶのか?
ストリーミングメディア分野には、RTMP、HLS、FLV、WebRTCなどの多くのプロトコルがあり、SRS、ZLMediaKit、Nginx-RTMPなどのサーバーがあります。なぜ特にNginx-RTMPを選ぶのでしょうか? 以下の利点をまとめました:
- 高性能: ご存知の通り、Nginxの高並列処理能力は世界的に有名です。
- 非常に軽量: リソース使用量が非常に少なく、1コア1GBのクラウドサーバーで数百のストリームを処理できます。
- シンプルな設定: 1つのnginx.confですべてを制御します。
- 強力な機能: RTMPストリーミングをサポートするとともに、HTTP-FLVとHLS再生もサポートし、PCとモバイルの完全な互換性を実現します。
記事の目標: OBSプッシュ → サーバー → VLC/ブラウザ再生という完全なループを実現するサーバーを構築します。
前提条件
仕事を始める前に道具を整えましょう。以下の環境を準備してください:
- サーバー/コンピューター: クラウドサーバー(推奨:Ubuntu 20.04/22.04)またはローカルWindowsコンピューター
- ストリーミングツール: OBS Studio(オープンソースで無料、ストリーミングの万能ツール)
- 再生ツール: VLC Media Player(ユニバーサルプレイヤー)
- コードエディター: VS Code、Notepad++、またはVim
Ubuntuプラットフォームのセットアップ
デモンストレーションの目的で、ここではUbuntuを使用します。公式リポジトリのNginxにはRTMPモジュールが付属していないため、ここではapt installを使用せず、ソースからコンパイルする必要があります。怖いですか?実は、いくつかのコマンドをコピー&ペーストするだけです。😎
コンパイル依存関係のインストール
ターミナルを開き、以下のコマンドを順番に実行してください:
# ソフトウェアソースを更新
sudo apt-get update

# コンパイルツールと依存ライブラリをインストール
sudo apt-get install build-essential libpcre3 libpcre3-dev libssl-dev zlib1g-dev unzip wget
NginxとRTMPモジュールのダウンロード
2つの圧縮パッケージが必要です:NginxソースパッケージとNginx-RTMP-Moduleモジュールパッケージです。
# 作業ディレクトリを作成
mkdir ~/nginx-build && cd ~/nginx-build

# Nginxをダウンロード(推奨:1.20.xバージョン、安定版)
wget http://nginx.org/download/nginx-1.20.2.tar.gz

# RTMPモジュールをダウンロード(arutによるオリジナル)
wget https://github.com/arut/nginx-rtmp-module/archive/master.zip
展開と設定
# 展開
tar -zxvf nginx-1.20.2.tar.gz
unzip master.zip

# Nginxディレクトリに入る
cd nginx-1.20.2
最も重要なステップです:コンパイルパラメータの設定。 Nginxに伝える必要があります:組み込み機能に加えて、隣のnginx-rtmp-moduleもパッケージ化してください。
./configure \
--prefix=/usr/local/nginx \
--add-module=../nginx-rtmp-module-master \
--with-http_ssl_module \
--with-http_v2_moduleパラメータ説明:
--prefix: 管理を容易にするためにインストールディレクトリを指定--add-module: RTMPモジュールのソースパスを指定—親ディレクトリのmasterフォルダであることに注意--with-http_ssl_module: SSLサポートを有効化—注意:HLSはHTTPSを使用する必要があります
エラーがなければ、最後に「configured successfully」が表示されます。
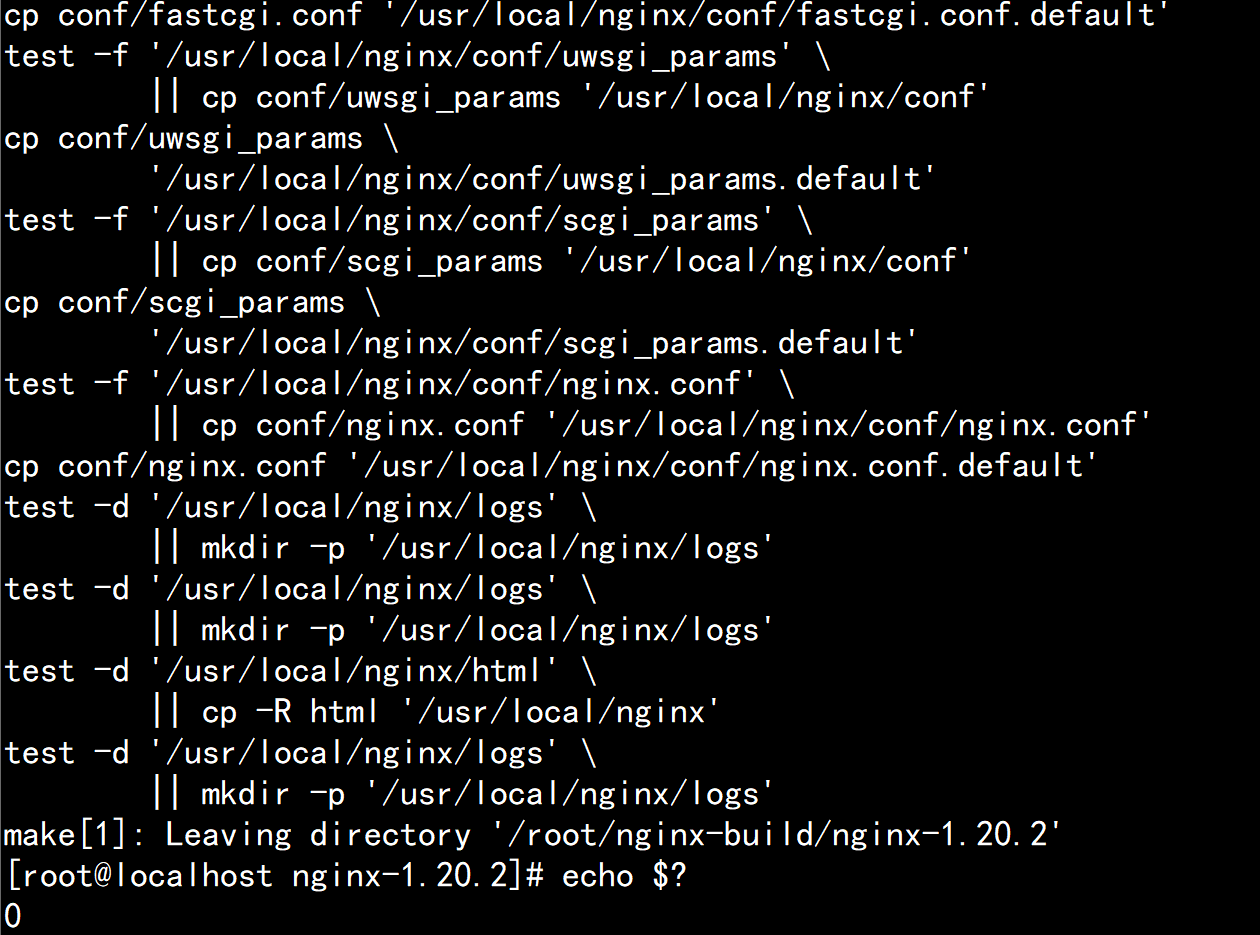
コンパイルとインストール
# コンパイル(make)、-j4は4コアを使用してコンパイルすることを意味し、高速です。マシン構成に基づいてコア数を調整
make -j4

sudo make installインストールが完了すると、Nginxは/usr/local/nginxディレクトリに配置されます。
Ubuntu System Service Configuration
Create a systemd service file:
sudo vim /etc/systemd/system/nginx-rtmp.serviceAdd the following content:
[Unit]
Description=nginx-rtmp server
After=network.target

[Service]
Type=forking
PIDFile=/usr/local/nginx/logs/nginx.pid
ExecStart=/usr/local/nginx/sbin/nginx
ExecReload=/usr/local/nginx/sbin/nginx -s reload
ExecStop=/usr/local/nginx/sbin/nginx -s quit
PrivateTmp=true

[Install]
WantedBy=multi-user.target
Enable the service:
sudo systemctl enable nginx-rtmp
sudo systemctl start nginx-rtmp
Windows Platform Setup
The Windows compilation environment is too troublesome, but fortunately there are precompiled binary packages made by experts.
Download and Extract
- Visit the GitHub repository: illuspas/nginx-rtmp-win32.
- Download the latest
nginx-rtmp-win32-1.2.1.zip. - Extract to a non-Chinese path, for example
D:\nginx-rtmp.
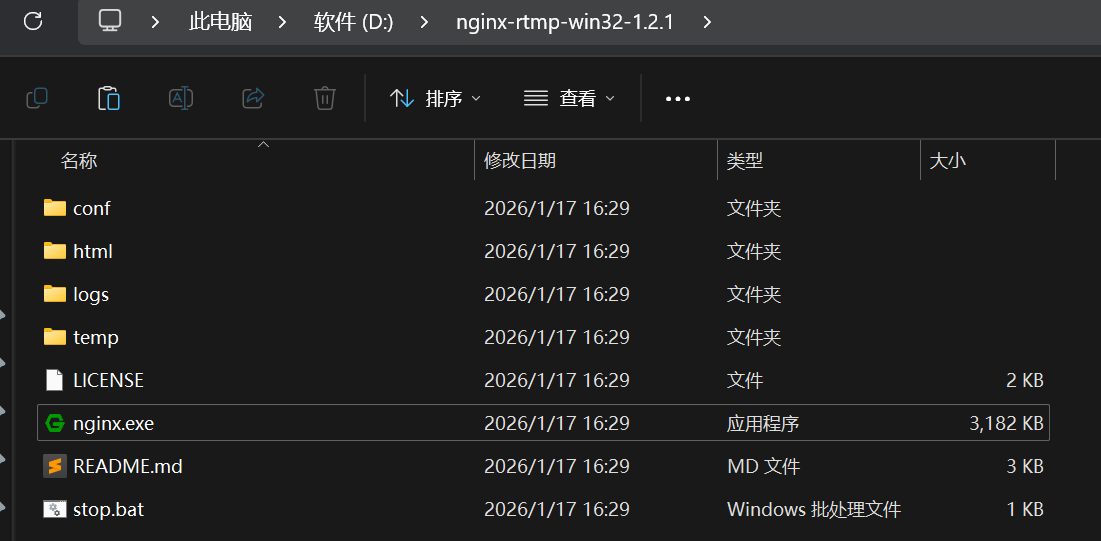
See nginx.exe? That's our protagonist.
Core Configuration: nginx.conf Explained
Whether Ubuntu or Windows, the soul is in the conf/nginx.conf file. Open it with an editor, find the http { ... } section, and at the same level outside it, add the following rtmp configuration:
rtmp {
    server {
        listen 1935; # RTMP default port
        chunk_size 4096;

        application live {
            live on;             # Enable live mode
            record off;          # Disable recording (save disk space)
            allow publish 127.0.0.1; # Allow streaming client IP—for production, recommend changing to intranet IP or password verification

            # Enable HLS slicing
            hls on;
            hls_path /tmp/hls;   # Ubuntu path
            # hls_path D:/nginx-rtmp/temp/hls; # Windows path—note forward slashes
            hls_fragment 3s;     # Each slice is 3 seconds
            hls_playlist_length 10s; # Playlist length is 10 seconds
        }
    }
}

http {
    include       mime.types;
    default_type  application/octet-stream;
    sendfile        on;
    keepalive_timeout  65;

    server {
        listen       80; # HTTP default port, for HLS playback
        server_name  localhost;

        # HLS playback configuration
        location /hls {
            types {
                application/vnd.apple.mpegurl m3u8;
                video/mp2t ts;
            }
            root /tmp; # Ubuntu
            # root D:/nginx-rtmp/temp; # Windows
            add_header Cache-Control no-cache;
        }
    }
}
After saving configuration:
- Ubuntu:
sudo /usr/local/nginx/sbin/nginxto start. - Windows: Double-click
nginx.exeto start (a black window will flash).
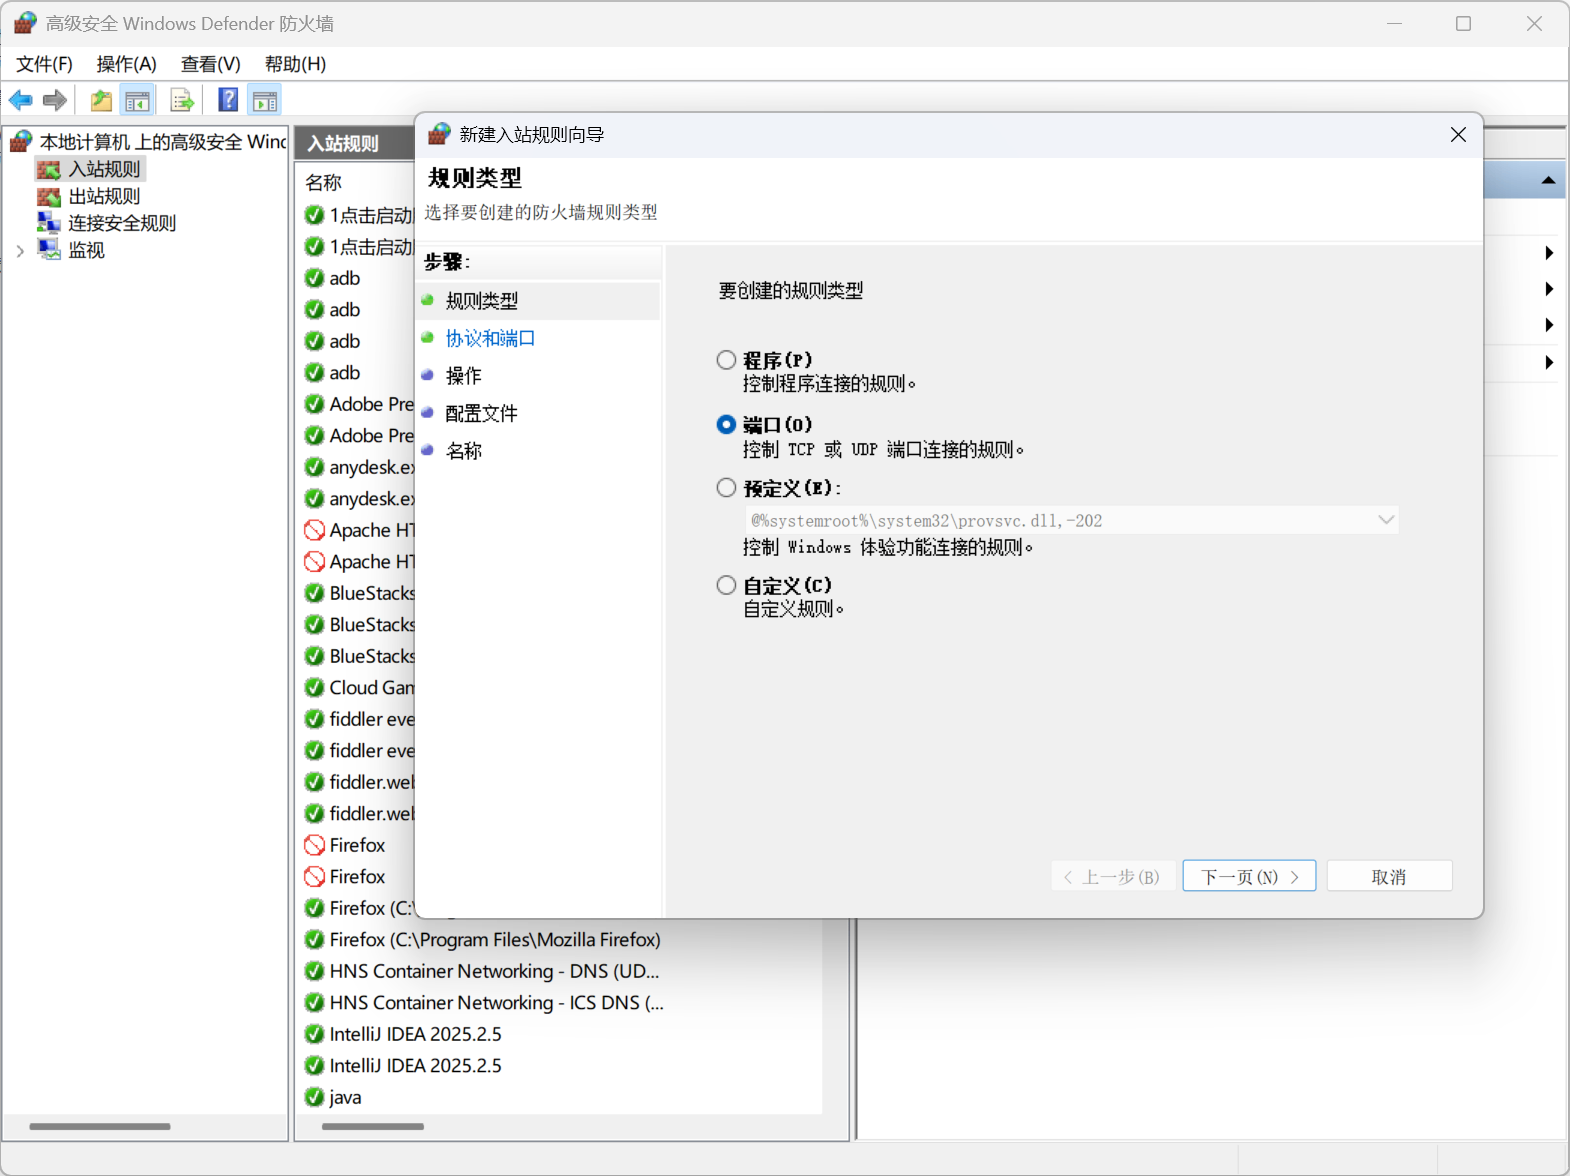
Firewall Note: Must open 1935 (streaming) and 80 (playback) ports!
- Ubuntu:
sudo ufw allow 1935 && sudo ufw allow 80- Windows: Firewall Advanced Settings -> Inbound Rules -> New Rule -> Port -> TCP 1935, 80.
Practical Streaming: OBS Connects to Server
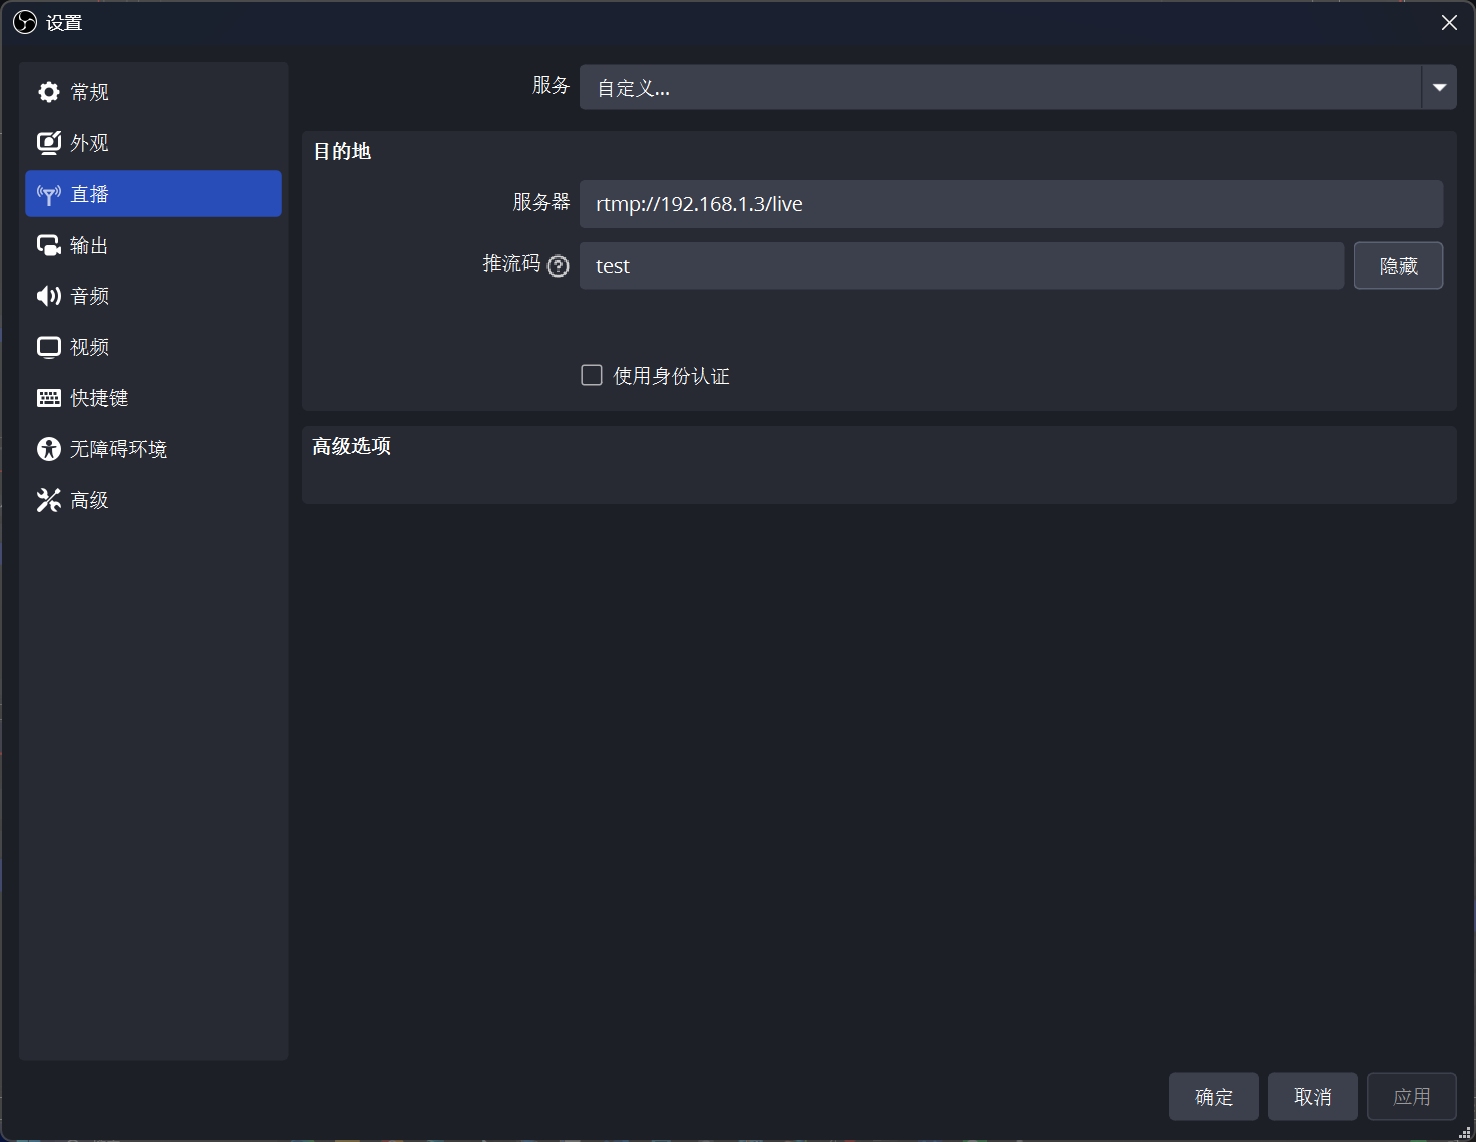
Replace the server below with your actual situation. My IP here is 192.168.1.3.
OBS Settings
Sources: Add "Display Capture" or "Video Capture Device".
Settings -> Stream:
- Service: Custom
- Server:
rtmp://192.168.1.3/live - Stream Key:
test—this can be customized, equivalent to a room number
Settings -> Output:
- Bitrate: 2000 Kbps (2Mbps) is sufficiently clear.
- Output Mode -> Keyframe Interval: 2 seconds.
Click "Start Streaming"
If OBS shows "Streaming" in the bottom right corner and the bitrate isn't 0, congratulations! Data has been sent!
Practical Pull Streaming: Three Ways to Watch Live Stream
You've pushed it, how to watch? There are three mainstream protocols.
| Protocol | URL Format | Latency | Pros | Cons |
|---|---|---|---|---|
| RTMP | rtmp://ip/live/test | 1-3 seconds | Extremely low latency | Browsers don't support, need player |
| HTTP-FLV | http://ip/live/test.flv | 2-5 seconds | Low latency, web-playable | Requires flv.js support |
| HLS | http://ip/hls/test.m3u8 | 10-30 seconds | Best compatibility | High latency |
Method 1: VLC Playback
- Open VLC -> Media -> Open Network Stream.
- Enter:
rtmp://yourIP/live/test - Press Enter, the picture appears!

Method 2: Browser Playback HLS (Safari/Edge)
Enter directly in the address bar: http://yourIP/hls/test.m3u8 Safari and Edge natively support HLS, so you can watch directly. Chrome needs a plugin.
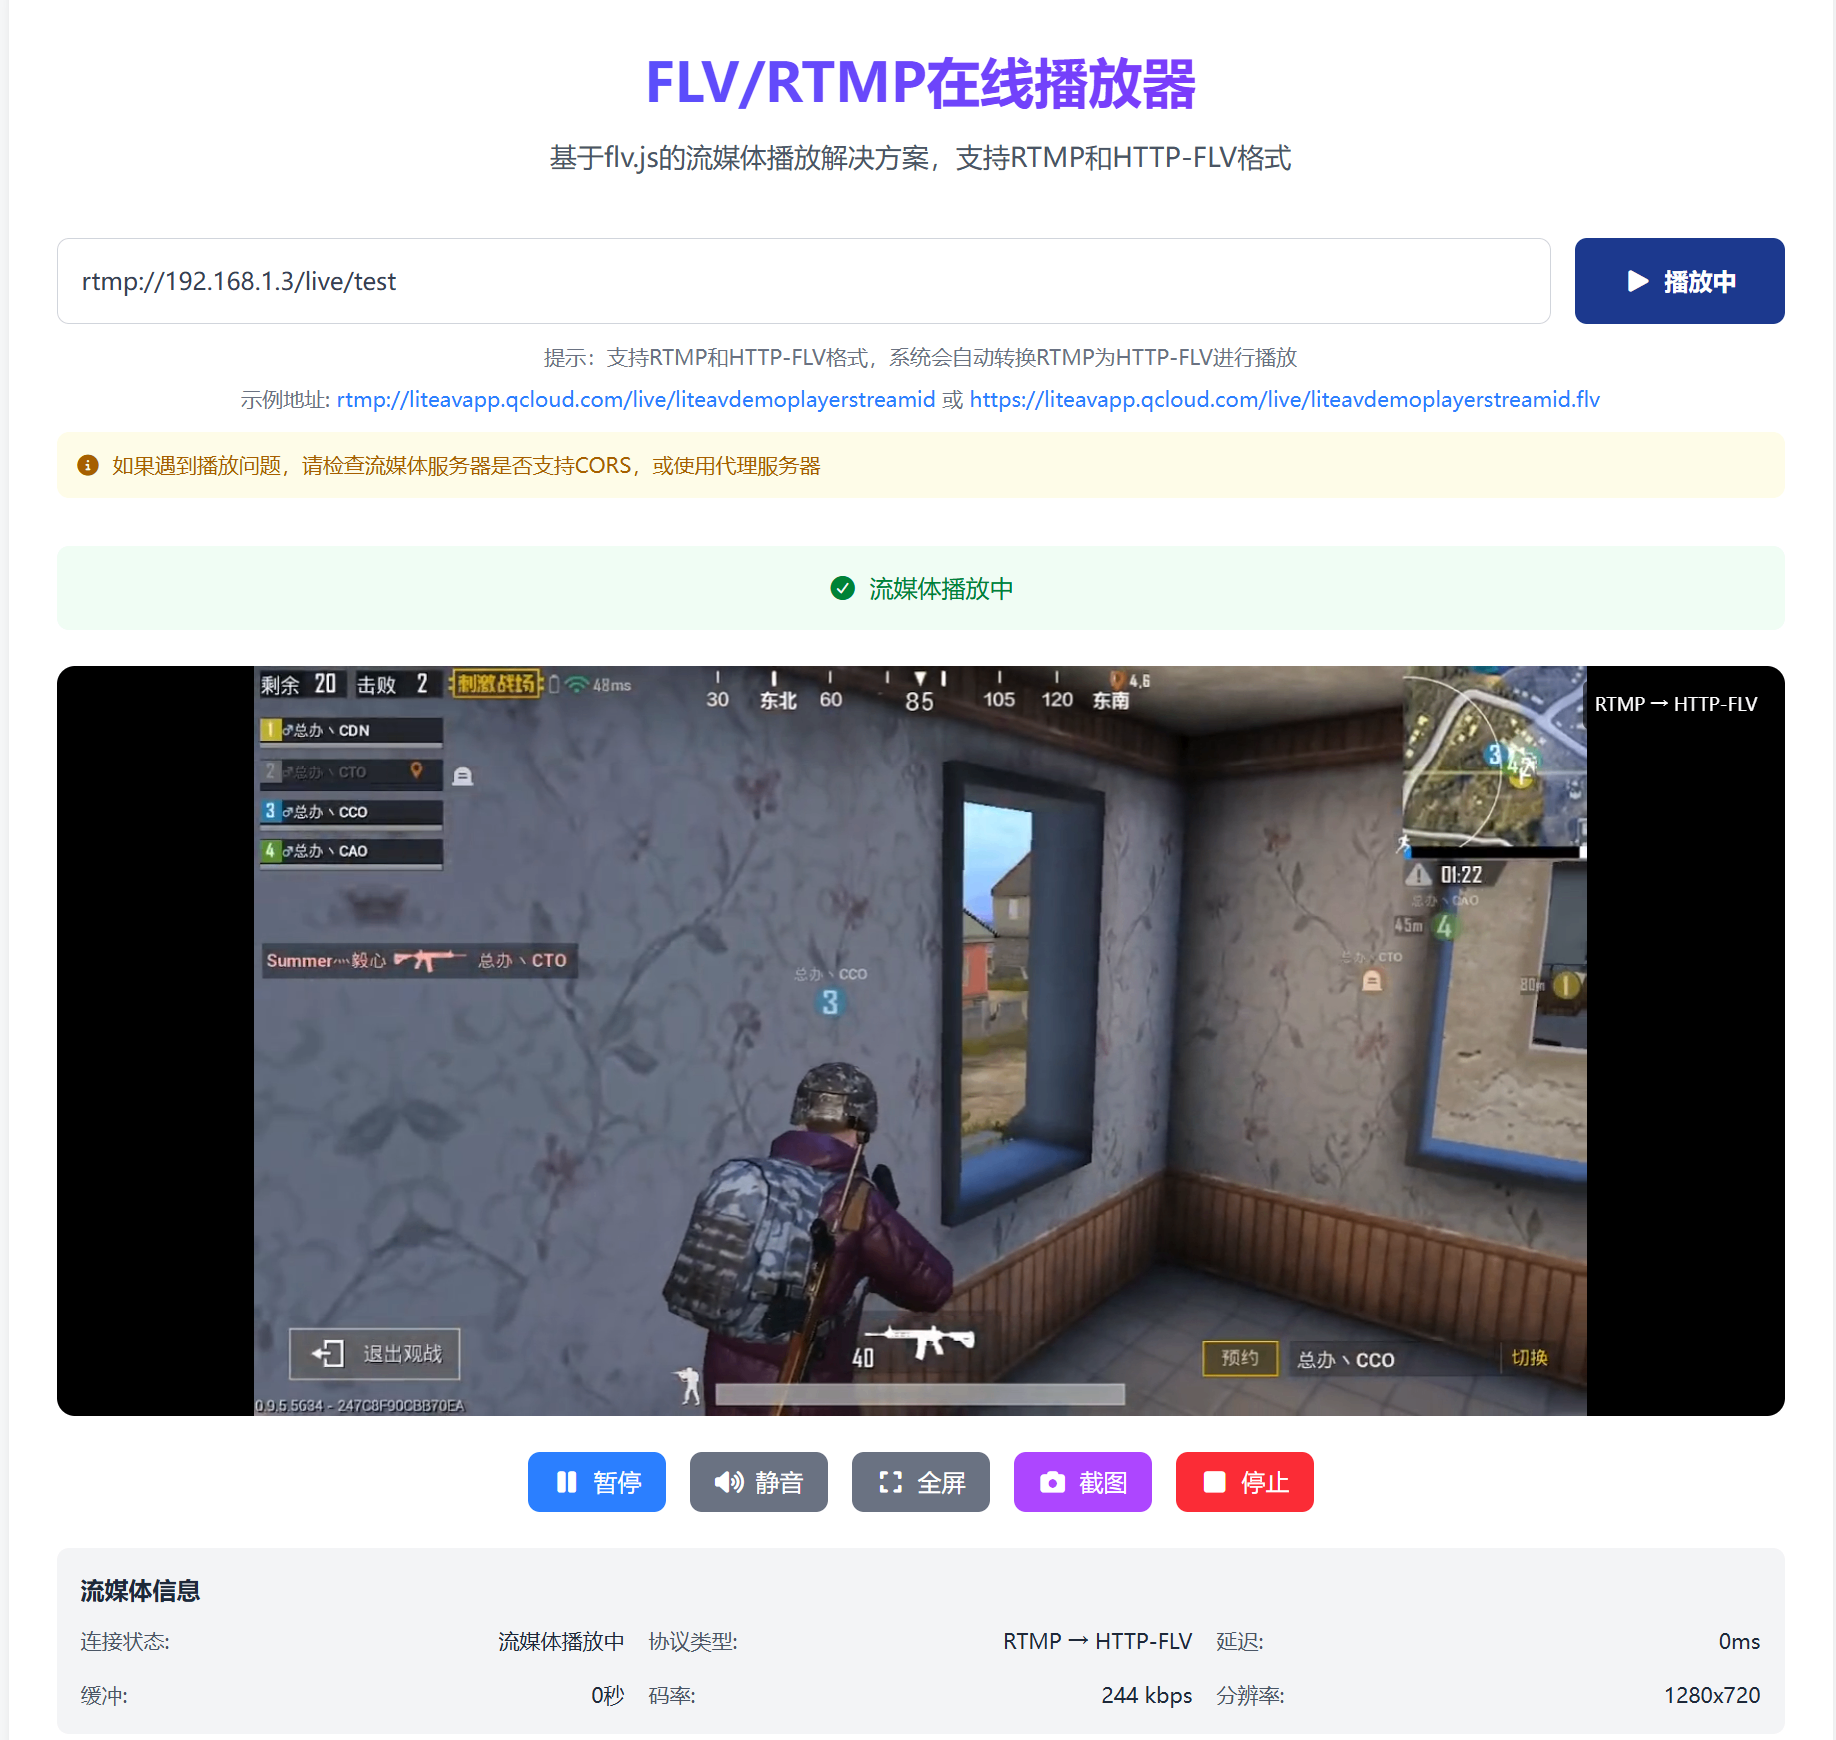
Method 3: Web Playback HTTP-FLV
Here I recommend EZ Media Tools' FLV & RTMP Player Online, saving you development trouble. Very suitable for RTMP live stream testing, supporting RTMP and FLV formats, real-time live stream information, screenshots, and more.
If you want to write it yourself, you can refer to Bilibili's open source flv.js. Create an index.html file and paste the following code:
<!DOCTYPE html>
<html>
<head>
    <meta charset="UTF-8">
    <title>Nginx-RTMP Live Stream</title>
    <script src="https://cdn.bootcss.com/flv.js/1.5.0/flv.min.js"></script>
</head>
<body>
    <h1>My Live Room</h1>
    <video id="videoElement" controls width="800" height="450"></video>
    <script>
        if (flvjs.isSupported()) {
            var videoElement = document.getElementById('videoElement');
            var flvPlayer = flvjs.createPlayer({
                type: 'flv',
                url: 'http://yourIP/live/test.flv' // Note: this is flv
            });
            flvPlayer.attachMediaElement(videoElement);
            flvPlayer.load();
            flvPlayer.play();
        }
    </script>
</body>
</html>Note: The
nginx.confabove doesn't enable flv by default. To enable it, addallow publish 127.0.0.1;inrtmp -> application live, then add inhttp server:nginxlocation /live { flv_live on; chunked_transfer_encoding on; add_header 'Access-Control-Allow-Origin' '*'; }
Advanced: Intranet Penetration for External Access
If you built it on your own computer (Windows) and your friend wants to watch, what do you do? You don't have a public IP.
There are three solutions:
- Oray/Frp: Simple, but free version has speed limits.
- Zerotier/Hamachi: Build a virtual LAN, friend installs a client, accesses with intranet IP.
- Ngrok: Foreign tool, stable but costs money.
The simplest method (router port forwarding): If you have a public IP with optical modem dial-up:
- Login to router (192.168.1.1).
- Find "Virtual Server" or "Port Forwarding".
- Add two rules:
- External port 1935 -> Internal IP (your computer's IP) -> Internal port 1935
- External port 80 -> Internal IP (your computer's IP) -> Internal port 80
- Fill in your public IP for the streaming address.
Common Troubleshooting
| Phenomenon | Cause | Solution |
|---|---|---|
OBS streaming error connection refused | Firewall blocking / Nginx not started | Check firewall, `ps -ef |
| OBS streaming successful, VLC black screen | Incorrect encoding format | Change OBS video encoding to H.264, audio to AAC |
| Public network inaccessible, intranet works | No port forwarding / No public IP | Do forwarding on router, or use Frp |
| HLS playback 404 | Incorrect Nginx configuration path | Check if hls_path and location /hls's root correspond |
Checking logs is a good habit!
- Ubuntu:
tail -f /usr/local/nginx/logs/error.log - Windows:
logs/error.log
Summary and Outlook
Congratulations! You've mastered the most core streaming media server building technology.
Let's review what we did:
- Completed Ubuntu / Windows Nginx-RTMP module environment setup.
- Configured
nginx.conffor RTMP streaming. - Established the OBS -> Nginx -> VLC link.
What can you play with next?
- Recording and Playback: Configure
record all;andexec_record_donescripts to implement automatic live recording and upload to VOD system. - Multi-bitrate: Configure
ffmpegtranscoding to let users choose 720P/1080P based on network speed. - Authentication: Prevent others from streaming randomly, configure
on_publishinterface callback to verify keys. - WebRTC: Nginx-RTMP latency is still a bit high. Want interactive video chat? Go study ZLMediaKit or SRS—they natively support WebRTC with latency under 500ms.